Gatsby with Netlify CMS
In this post, we will look closely at Netlify CMS. It is an example of a new type of CMS that is Git-based. We will integrate it with a Gatsby example project.
Last updated: September 23, 2022
If you're a web developer, you probably recognize this image. Even if you're not, you most likely know what it is.

A WordPress dashboard—it's an easy and intuitive way to manage content on your website. You don't need to know PHP, MySQL, or HTML to create something like a blog post. There are multiple tabs, inputs, and buttons that help with creating content. The content creation experience must be good because it's the most-used CMS on the market. But the popularity comes with a huge disadvantage—it's a primary target for hackers and spammers. Security vulnerabilities are not the only cons, but this post is not about that.
Eventually, your content needs to be in HTML markup to be interpreted by a browser. You could code everything by yourself. I'm writing this blog post in MDX—a format that combines Markdown and JavaScript that you eventually see as an HTML website. Everything is static and safe. But it requires learning multiple syntaxes, and not everyone wants that. Also, it's pretty easy to mess something up, so I wanted to check how a Git-based CMS works.
Netlify CMS
Netlify CMS is an example of a Git-based CMS. The CMS uses the Git version control system under the hood. It allows you to keep everything in a Git repository—content alongside code. It offers some advantages over standard CMSes like WordPress. And it doesn't compromise on ease of use. At its core, Netlify CMS is a React app that wraps a Git workflow. So, you don't need to learn Git, YAML, or Markdown to use it. It offers a rich web UI, just like WordPress. It's friendly for non-technical editors. But you need some knowledge to configure it. So, I'll integrate Netlify CMS with a Gatsby example project in this post. I will recreate a post from my blog.
If you want to see a bigger picture and how Gatsby or Netlify CMS fits into Jamstack architecture, I wrote a post about this.
How to use Gatsby with Netlify CMS?
We will start by initiating a new Gatsby project. You can create it with Gatsby CLI.
gatsby new netlify-cms-example https://github.com/gatsbyjs/gatsby-starter-hello-worldThen we need to install two packages: netlify-cms-app and gatsby-plugin-netlify-cms. The first is responsible for creating the app mentioned earlier, and the second integrates it with Gatsby.
npm install netlify-cms-app gatsby-plugin-netlify-cmsA Gatsby plugin needs to be registered to work. We need to add a new dependency in the plugin array.
//gatsby-config.js
module.exports = {
plugins: [`gatsby-plugin-netlify-cms`]
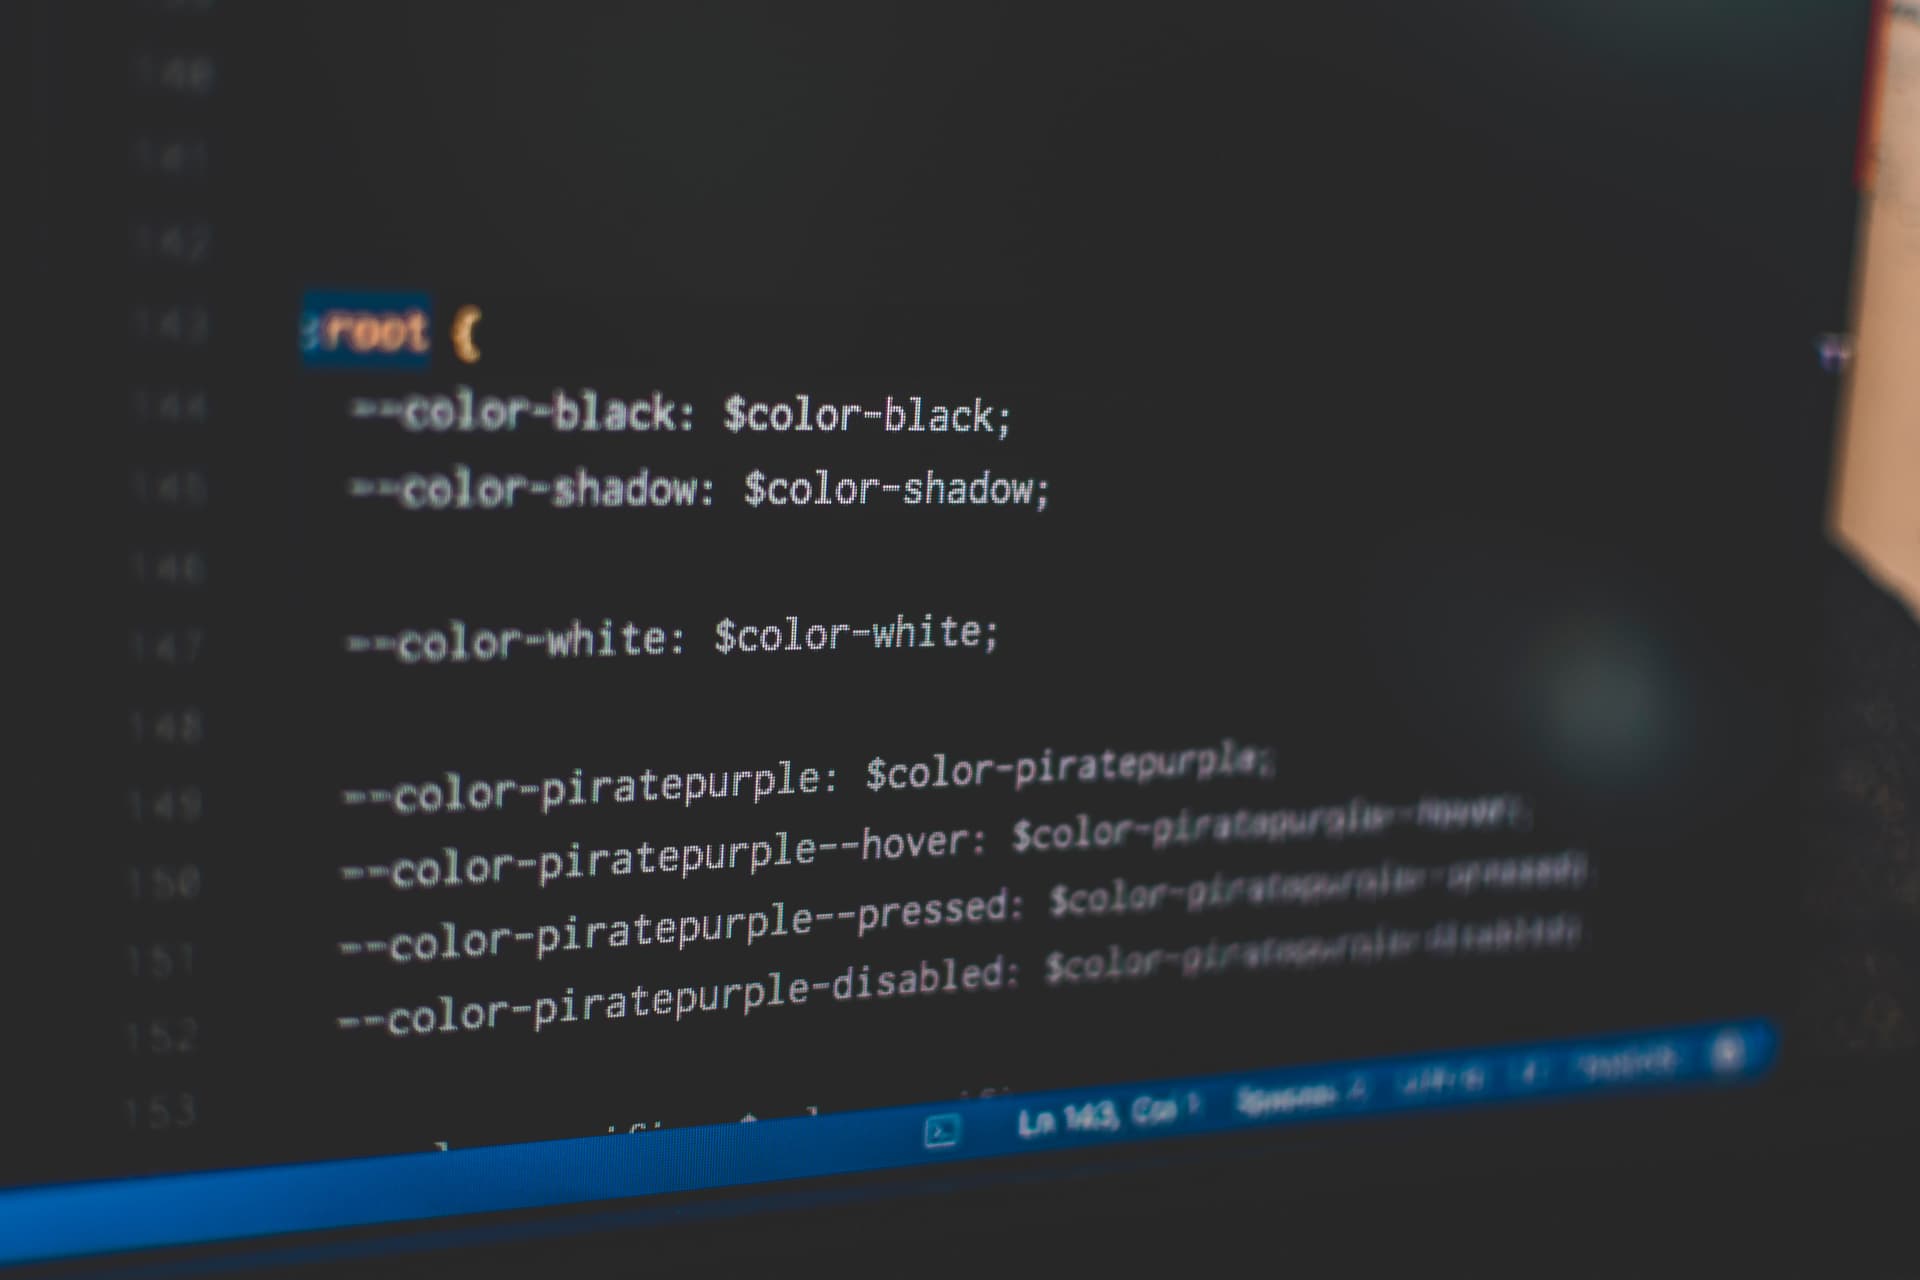
}The plugin itself doesn't require configuration, but Netlify CMS does. It doesn't know what type of content you (or editors) will be creating. So, it needs a config.yml file with folders, collections, and different fields. For now, let's copy an example config and paste it into the static/admin folder. Gatsby will copy everything from this folder to the output build.
#static/admin/config.yml
backend:
  name: test-repo

media_folder: static/assets
public_folder: /assets

collections:
  - name: blog
    label: Blog
    folder: blog
    create: true
    fields:
      - { name: path, label: Path }
      - { name: date, label: Date, widget: datetime }
      - { name: title, label: Title }
      - { name: body, label: Body, widget: markdown }
Now we can run gatsby develop in the terminal. If you configured everything correctly, a similar web UI should greet you at http://localhost:8000/admin/.

Netlify CMS config
I think it's the right time to explore different configuration options. Here are a couple of important, general ones:
backend: specifies how to access the content of your website. It has the following options:repo: path to repository (username/repo name)branch: branch for storing contentbase_url: OAuth client hostname when using an external OAuth servercms_label_prefix: pull or merge requests label prefix when using editorial workflow
publish_mode: allows you to enable editorial workflow—more stages before publicationmedia_folder: a relative path to the folder for uploaded filespublic_folder: a path by which you can access uploaded files in the built sitesite_url: a URL to your published website
Collections
There are specific options for collections. A collection is a list of objects of the same type. Blog posts, recipes, and products are good examples. Each configured collection displays on the left sidebar, as you saw. These settings describe the shape of your content.
name: unique identifier for a collectionidentifier_field: this field will be used (instead of the default) in slug creation if specified. Netlify CMS expects atitlefield by default.label: label for the collection in the UI. It defaults to the name, but it doesn't need to be the same.label_singular: the same as above, but for individual elements. It defaults to the label.description: optional description for the UIfolderorfiles: a collection type. Thefolderoption takes a path to a folder. Inside this folder, there should be multiple files with the same format and fields (e.g., blog posts). Thefilesoption contains uniquely configured files (e.g., the about page).filter: an option for the folder only. As the name suggests, it filters files from the folder. It takesfieldandvalueto use during filtration.create: another option for the folder only. Atruevalue allows users to create new items in the collection.falseby default.extension: used for finding and saving files in a folder collectionformat: used for parsing and saving files in a folder collectionslug: a template for generating new filenames based on different fields. Inside this option, you can use multiple template tags, like:{{slug}}: a URL-safe version of the title{{year}}: a year of the file creation date{{second}}: a second of the file creation date{{field_name}}: besides defined tags, you can also use custom ones by wrapping the field name in double curly braces
preview_path: a template for generating paths to content on the live site. The tags are the same as the previous ones with the exceptions:{{slug}}: here, it means the entire slug for the current entry- Date tags may require additional config.
{{dirname}}: path to the parent folder of the collection{{filename}}: the file name{{extension}}: the extension of the file
Fields
Each collection element can have many fields. When you click to create a new collection element (“New Blog” in our case), you will see UI elements like this.

It looks similar to standard CMSes like WordPress. If you look closely at the previous config snippet and compare it with this screenshot, you should see that the fields option matches UI elements. The fields option maps UI widgets to values saved in a file. It takes a list of objects with the following options:
name: unique identifier for the fieldlabel: label for the field in the UIwidget: defines editor inputs and data types. It takes a string, which determines a widget type. There are default widgets like date, image, or markdown. Additional options allow customizing them. These options differ based on widget type, but there are also shared options likerequiredorhint.required: specifies if the field is requiredhint: helper text displayed below the UI elementdefault: default value for a field. Available for most widget types.pattern: a list of regex and an error message that is used for field validation
Blog posts in Netlify CMS
There was a lot to take, but I think we're now ready to replace the default config with our custom one. We want the ability to add, modify, and delete typical blog posts with titles, descriptions, images, tags, etc. Let's start with configuring our collection.
#static/admin/config.yml
collections:
  - name: blog
    label: Blog
    label_singular: Post
    folder: content/blog
    create: true
    delete: true
    extension: markdown
    format: frontmatter
    slug: '{{slug}}'
    preview_path: 'blog/{{filename}}'
    fields:
    # Below 👇
The name and the label fields can remain the same. I also added label_singular for individual posts. The CMS user is supposed to be able to create and delete posts. Posts should be in markdown format with additional information stored in frontmatter. We need to add fields to allow the user to populate this information. There should be a title field for slug creation. The description can be displayed or used in meta tags.
fields:
  - { name: title, label: Title }
  - { name: description, label: Description, widget: text }
  - { name: date, label: Publication Date, widget: datetime }
  - { name: updated, label: Update Date, widget: datetime }
  - name: image
    label: Featured Image
    widget: object
    summary: '{{fields.src}}'
    fields:
      - { name: src, label: Image source, widget: image }
      - { name: alt, label: Alt text, widget: string }
      - {
          name: credit,
          label: Author of the image,
          widget: string,
          required: false
        }
  - {
      name: tags,
      label: Tags,
      widget: select,
      multiple: true,
      options:
        [
          'Web Development',
          'Design',
          'Computer Science',
          'Data Science',
          'Mathematics'
        ],
      default: ['Computer Science'],
      min: 1,
      max: 4,
      required: false
    }
  - { name: body, label: Body, widget: markdown }
The user can pick dates with the datetime widget. The featured image needs to be an object and contain subfields to be accessible. After choosing a picture with the image widget, the user should add alt text and give credit to an author. I also added several tags with the select element to organize blog posts. The user will be writing post content inside the markdown element. After this configuration, our CMS looks like this:

Connecting Netlify CMS to a Git repo
The user can use CMS to create blog posts, but the entered information will only stay in the browser. We need a Git repo to store this content. First, we need to connect our local repository to a service like GitHub. After doing that, let's take a step back. Netlify CMS is a single-page web app, as mentioned earlier. So, we want to introduce changes to our repo from the browser. It requires authentication, and GitHub requires a server for this purpose. Netlify provides a free solution and can take care of this. Connecting the repository with Netlify is pretty straightforward. Create an account, go to Sites > Add new site > Import an existing project, and follow the steps. We can authenticate our deployed website with the OAuth setup. We need to add a new OAuth application in GitHub and save generated credentials to our site in Netlify. From now on, our CMS can make changes inside the repo… almost. We also need to supplement missing information in our config. Then we must commit and push our changes to GitHub.
#static/admin/config.yml
backend:
  name: github
  repo: your-username/repo-name
  branch: main
Visit https://your-website.netlify.app/admin/ and your browser should display an authentication page like this.

After logging in, you can create a blog post, populate its fields, and click “publish now.” It will save your changes in the repository after a few seconds. Yay! We made it. “But… posts aren't displayed on the website,” you may say pessimistically. I would respond—yeah, good point. However, the goal of this post was to integrate Netlify CMS with Gatsby. I wanted to keep everything else as simple as possible, so I started with a minimal setup. And if you started with a blog, you have this part already. This post is getting long, so I'll end here. I may add a second part where we will display our posts.